This project is a compromise.
I live in a typical, multi-family apartment building. It has an old-ish intercom (Aiphone GH-1AD) that is hooked up to the doorbell on the street.
My first goal was to enable remote opening of the door via my phone. As it turns out, that would require invasive changes that, as a renter, I’m not willing to make. A read-only setup, though, is both easy and completely reversible.
Setup
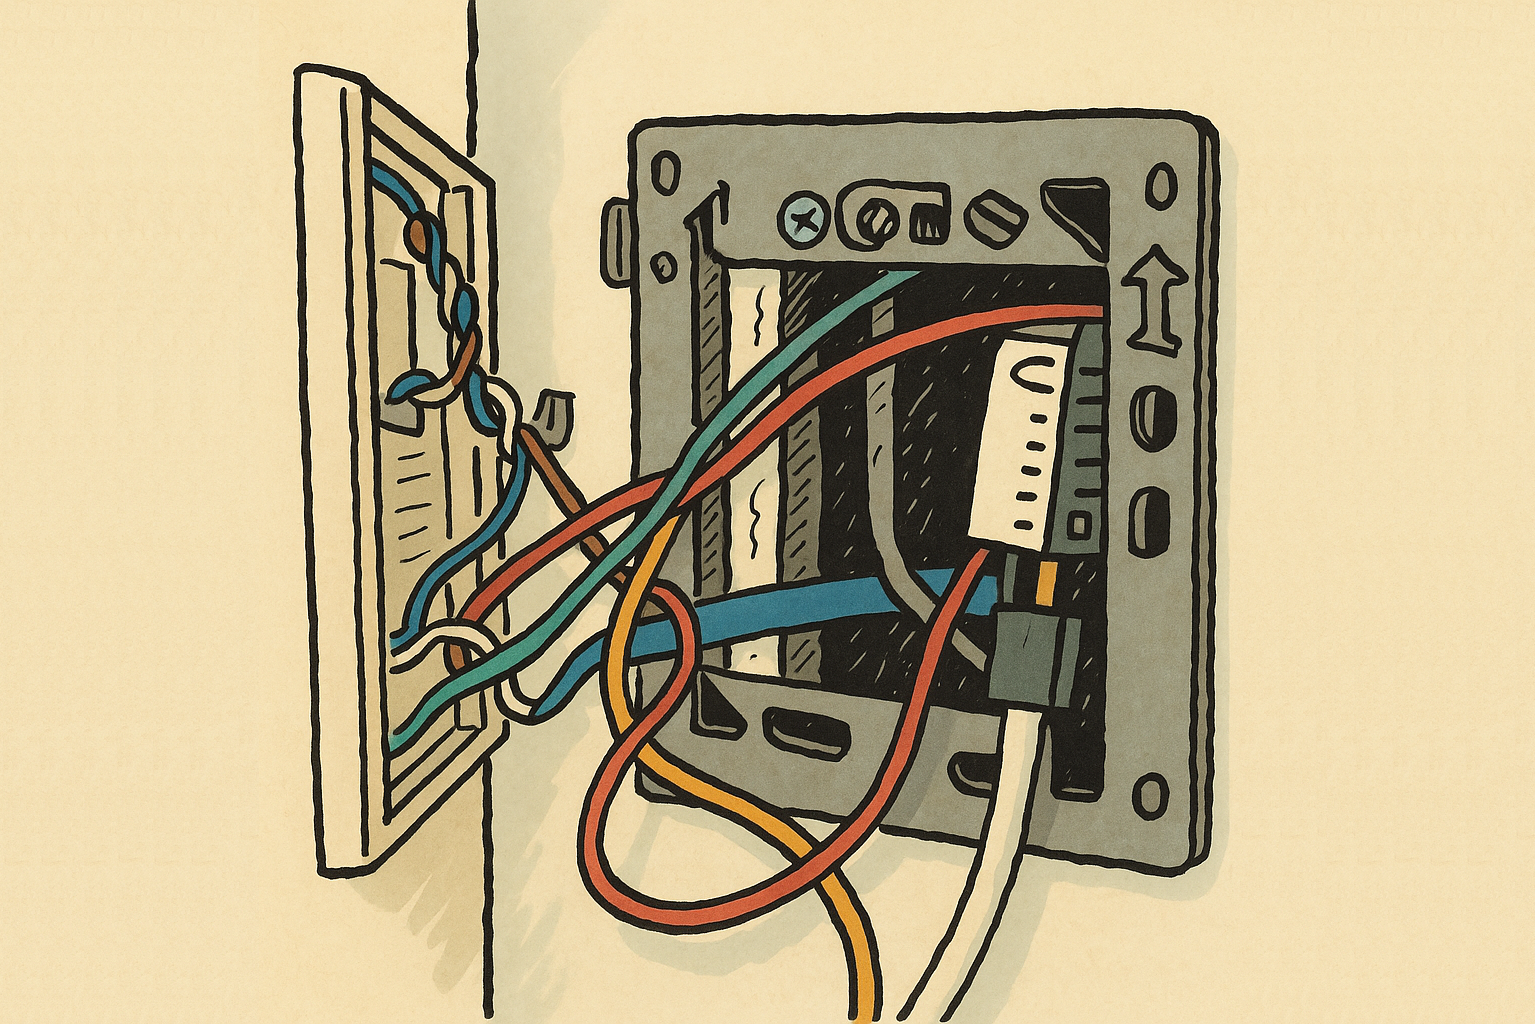
The GH-1AD has an “options connector” (see section 4.5 of this service manual) on the back. The middle pair of this connector will be pulled to +5V DC1 for ≈60 seconds every time the doorbell rings.
I used this page to identify the 6-pin header as a JST-ZH connector. I don’t have the time, tools or patience to crimp JST myself so I bought some pre-crimped, 6-pin, single-head ones from AliExpress.
Once the cables arrived, it was just a matter of hooking everything up. I used an M5Stack Stamp-C3U Mate board left over from a previous project. After soldering the two middle leads to ground and a digital pin respectively, I programmed the board to use the digital pin as input. I used ESPHome for this since I wanted to expose the doorbell to Home Assistant anyway:
# [...]
binary_sensor:
	- platform: gpio
	  pin: 20
	  name: "Doorbell"
# [...]
Once the board was programmed, I hooked it up via USB-C from a wall outlet below the intercom. The board itself fits in the wall behind the Aiphone unit, which has a nice cutout for the cable to enter through:


And… that’s it! I now have a Home Assistant entity that turns on every time the doorbell rings, so that I can send myself a push notification, or make the lights blink. Mostly useless, but pretty fun.
Bonus: “Doctor Call” mode
The service manual mentions a Doctor Call mode in sections 11.6 and 4.5. It allows you to temporarily let the intercom open the door automatically whenever the bell rings. This is useful if you’re hosting a party and don’t want to run to the intercom every time a guest arrives.
To unlock this feature, short the bottom two leads on the options connector. After that’s done, you can turn it on and off by holding TALK and pressing the light/alert button at the same time. There’ll be a periodic red flash from the intercom whenever this feature is enabled. Use at your own risk.
Useful links
- Aiphone GH series intercom service manual
- Official documentation for the GH 6-pin Options Connector instructions
- Discussion about similar intercoms on the Home Assistant forum, where some users have also enabled remote opening using relays or optocouplers.
-
Yes - I’m rawdogging +5V on a pin that was designed for 3.3V. I’m lazy, and I’ve found that these boards are more resilient than people give them credit for. YMMV. ↩︎